Showing posts with label Baby. Show all posts

Thursday, August 30, 2012

Almost through the second trimester

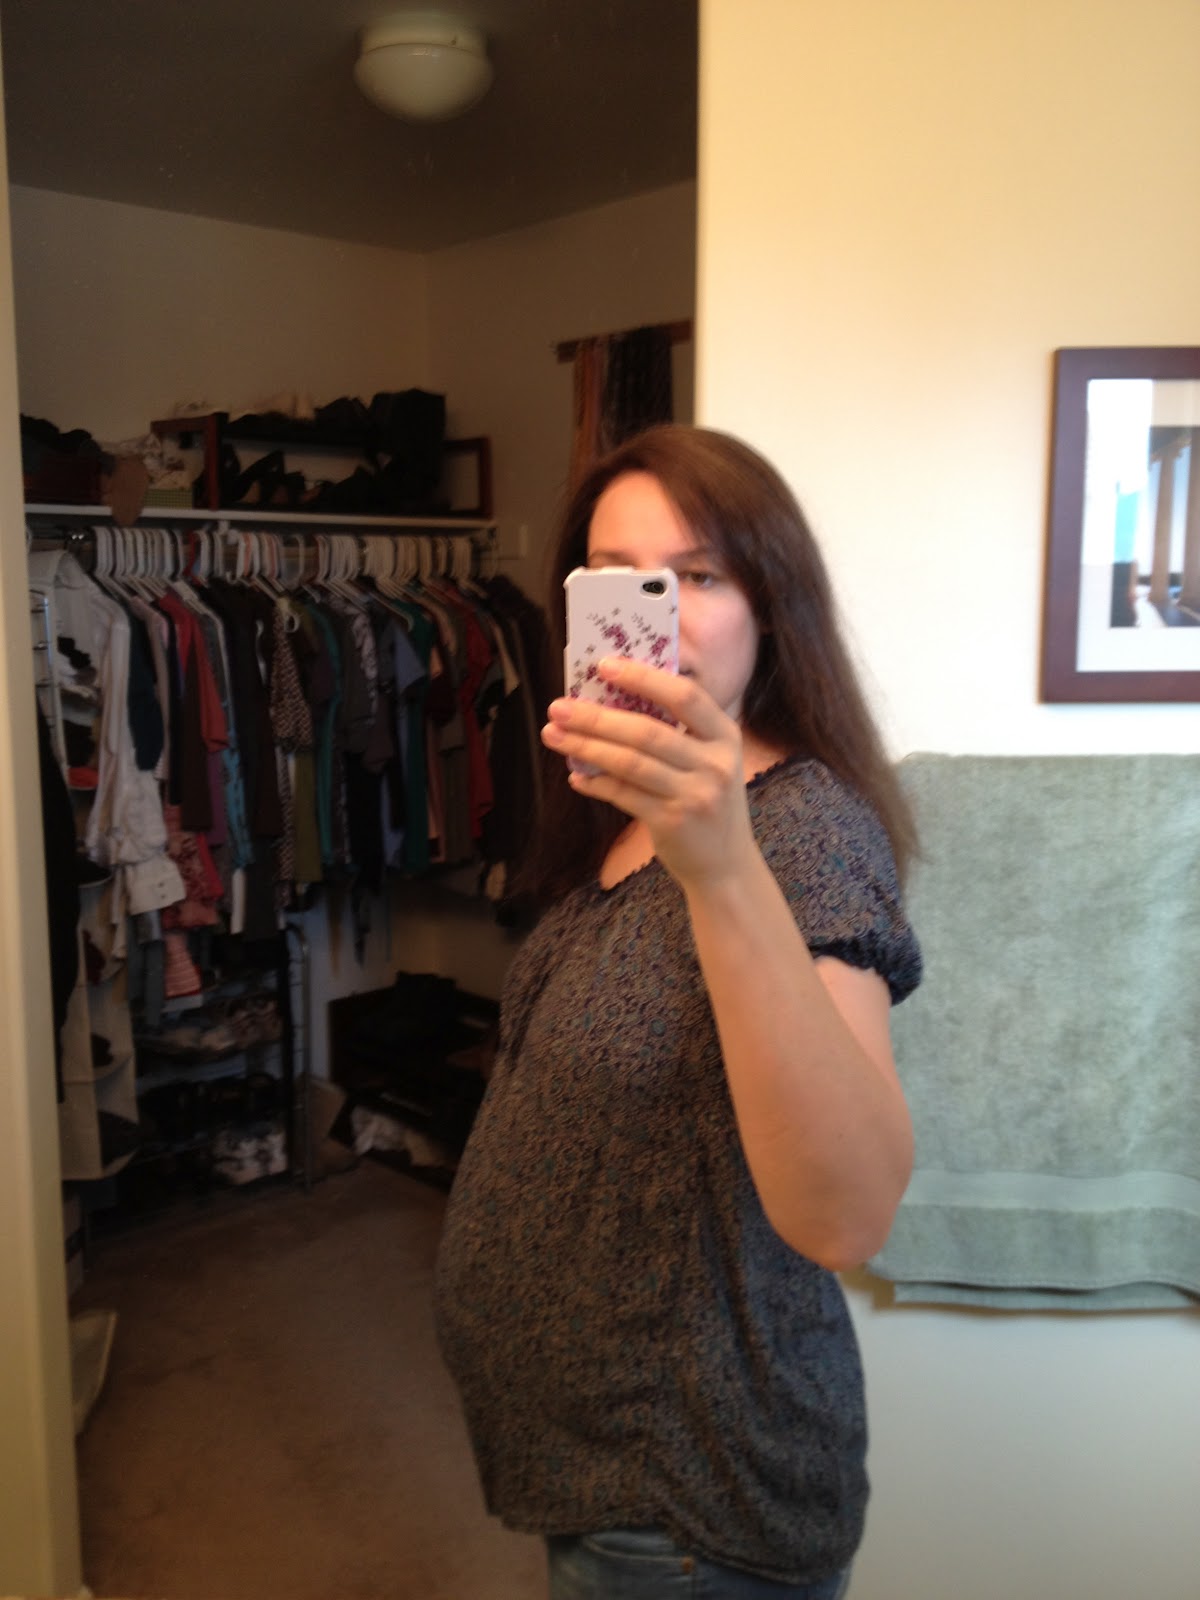
I am 26 weeks along today, I can't believe how quickly this is going.  I can feel Little Miss kicking away a lot of the time, especially at night when I am trying to sleep. :)  She'll get bunched up on one side and I can feel the shape of her head or bum (actually not sure which is which...) and that's probably the weirdest/coolest thing, actually feeling this little body we've managed to create (with a lot of help from the wonderful people at Utah Fertility in Pleasant Grove).

I am getting really excited to meet her but I'm glad we still have about three months.  I am a member of a birth forum for December 2012 babies and several of the mothers have given birth already due to complications and their babies are fighting for their lives in the NICU (some haven't made it, which breaks my heart).  It makes me super grateful for the easy pregnancy I've had (hope I didn't just jinx myself).  She has done perfectly well the entire time and except for one very minor episode of spotting early on, we haven't had to be worried about anything.  Not that we didn't worry, we just didn't really have a reason to worry.  I think it comes with being first time parents so we don't really know what's "normal", compounded with our fertility struggles and two losses.  We're getting better about that...

I continue to find things to make for her (I've made three of those little pillowcase dresses in a variety of forms and I'm working on altering a onesie into a dress) and I'm really happy with how the nursery is shaping up.  I really wanted it to be an attractive space and it's actually looking the way I imagined it would (this does not happen to me very often).  On Monday, for our Family Home Evening activity, we hung paper lantern/balls in one corner to give a little more dimension/interest to that part of the room.  I instructed, Jeremiah hung.  It worked out quite well. :)  I got them at JoAnn's with my 40% off coupon which made them about $10.  They are a Martha Stewart party product, six to a box in three colors and two sizes.  I was thrilled that the colors were a great match for the corals and pinks in the room.  We used clear 3M hooks on the ceiling and white ribbon that my Cub Scout master hubby tied into taut lines so I can adjust the height if necessary. I'm happy with it...now, if I could just get those darned curtains done.


Photobucket

Thursday, August 23, 2012

An Owl Taggie

I was on Pinterest a few days ago and saw this adorable little owl taggie blanket from Etsy.  I thought to myself, "I can make something like that!"  So I did.  Mine isn't quite as cute and next time I'll probably find a tutorial on making a taggie blanket rather than trying to wing it (my ribbon ears fell off and I put the wings on the wrong side) but overall I'm pretty happy with it.

Here's what I did:

Cut two body pieces 12x16, one from flannel and one from minky
Cut two semi circles from the minky (7 1/2" down the long edge)
Various lengths of matching ribbon
Two circles of felt for eyes, 1 triangle of felt for beak.

I sewed the ribbons to the my front piece so they pointed inward (that way they'd pop out when I flipped the blanket later).  I should have sewn them all right up to the edges but I didn't and that caused issues.  I had a couple at the each corner for ears and feet and three down each side.  I should have done the side pieces after the wings.

For the wings I took one semi circle (more like an oval, really) and folded it in half, right sides together then sewed around the edge, leaving a hole to turn right side out.  I decided to add a little stuffing to the wings for some extra dimension/texture but I think I may have overdone it a bit.  I sandwiched the wings between the front and back pieces of fabric, with the rounded edges toward the middle and pinned.

I pinned the front and back pieces (right sides together) all the way around and sewed them together, leaving the necessary hole for turning.  I turned it and stitched up the hole.

I appliqued the felt face pieces on (helps kind of "quilt" the two pieces so they don't shift so much) and added the cute flower button eyes.  Voila!

On a non-sewing but related topic, I am 25 weeks today.  In just over three months or roundabouts, we will be welcoming our sweet little girl who likes to kick me while I sit at the sewing machine...or when I'm on the couch with a book...or laying in bed trying to sleep.  I can't wait to meet her!


Photobucket

Wednesday, August 22, 2012

Another Baby Project

I know I already posted three projects today but I had some time to kill after I got dinner in the oven and before Jeremiah got home so I decided to look through some of my Pinterest pins and I found this quick little tutorial on fabric blocks.  I had exactly 12 squares left from the play mat project which was enough for two blocks.  In less than 30 minutes, they're done.

What do you think?  I almost put a bell inside each one but when I realized I'd have to go through my Christmas decorations to find them, I decided against it (plus, I have no idea if she'll be one of those kids who turns out super strong and demolishes things like this, in which case I'd rather not put choking hazards in her toys).

Photobucket

More baby-related projects

I've gotten a little behind in blogging because of BYU Education Week.  My mother-in-law came up and we spent a week on campus going to a ton of great classes.  By the time we got home, though, we were really too tired to do anything but decide what restaurant to go to for dinner. :)

I have three new projects finished, though.  I'm having so much fun getting ready for this baby; I hope I'm able to do half as much for the next one so s/he doesn't feel short changed.

The first project I finished is a sleep sack.  I bought a minky one from Bebe Bella on an awesome sale but realized I could probably make my own for even cheaper than that using fleece and a nifty online tutorial.  This one, to be exact.

Fleece is harder to sew than I thought; I got a piece of material stuck in my machine that almost had me in tears but thankfully Jeremiah came to my rescue.  I was a scaredy cat and didn't want to try the bias tape around the arms and neck so I thought I'd just use the overcast stitch to kind of "finish" it; next time I'll attempt the bias tape.  Also, I didn't do the zipper quite right; I used a 1/4" seam allowance instead of 1/2" so there wasn't enough material to keep the flap nicely sewn down.  I decided to just cut the flap off and it doesn't look great.  Functional, but not great.  Since it wasn't shaping up so nicely, I decided to do a cute little owl applique.  I created the outline from a piece of scrapbooking clipart I have without realizing how hard it would be to go around all the little edges but it turned out ok.  All in all, I would try this project again but be a little more exact and maybe use a cute printed fleece instead of the plain.  It's quite boring.  At least she has something to help keep her warm and that was the goal.


The second project was one I started a couple of weeks ago and got finished up yesterday.  Before I made the final selection on the nursery fabric, I thought I wanted to go with this line from Moda, called A Walk in the Woods.  It was no longer in stock at the Corn Wagon Quilt Company (a fantastic quilting store here in town) so I took a gamble and ordered two charm packs online.  It wasn't exactly how I remembered it and ultimately I went with other fabric for the nursery.  I decided to use the charm packs to make an easy play mat/changing mat to keep downstairs or in the car.  I put the squares together in a pretty random fashion, six rows of six for both the front and the back.  I have some fusible batting that I cut to size, pinned the three layers together (fabric right sides together, batting on the wrong side of one piece) and sewed around them, leaving enough space to turn the whole thing inside out.  I ironed the whole thing, fusing the batting to both fabric layers so I wouldn't have to do extensive tying or quilting later, sewed up the hole for turning and zigzagged around the whole thing.  I used a satin stitch to tack down the center and four inside corners and I was done.  I probably could have done the whole thing in about 3 hours.  I'm pretty happy with it.


The last project is a "pillowcase" dress I started last night and finished in stages today in between hair and massage appointments.  Altogether it probably took 75 minutes and I'm thrilled with it!  It's my first dress and I think it's adorable.  I got the tutorial from this website.  I made a 0-3 month template using a piece of poster board and her instructions.  For materials, I used two fat quarters I've had lying around for a couple of years and about 18" of ribbon I bought a couple months ago that was a serendipitous match.  After the sleep sack debacle I decided to try the bias tape in the arm holes as suggested but I didn't have any single fold at home and didn't want to run to the store just for that (since I knew I'd leave with way more than just that).  I decided to make my own using some of the left over fat quarters.  It was actually really easy; I made the bias tape and finished both arm holes in 20 minutes.  I just love it and can't wait to go find a couple of blue, brown or cream long sleeve onesies for her to wear with it (since it will be winter).


Photobucket

Saturday, August 11, 2012

Nursery Project #9

I decided to try making my own boppy/breastfeeding pillow rather than buy one for $30+.  I found a tutorial and pattern here.

Technically, the pattern is for a cover and includes room for a zipper.  I took the half of the pattern without the zipper instructions, traced it onto a large piece of white laminated cardstock I happen to have lying around under my couch (lining up the area to be placed on the fold with the edge of the paper) then taped a pencil to my sharpie and traced it again, making the pattern a little less than 1/2" smaller than the original.  This way it will be easier to get a cover on/off than it would be if the insert was the same size.

I then cut two pieces of fabric out using my insert pattern (I don't use flat sheets on the beds so I have several just sitting in my linen closet.  I used one of my thicker ones for this project).  I pinned the two pieces together, sewed around the edge (leaving a hole in the middle for stuffing), turned it inside out and stuffed it with polyfill I got on sale at JoAnn's a few weeks ago (I used the whole bag-probably could have used a little more but I didn't want it too firm), sewed up the hole by hand and I was done.  Putting together the pattern took the most time.

Soon I hope to try my hand at a nice soft minky cover for it.


Photobucket

Tuesday, July 31, 2012

Domesticity and a Baby Project

Today has been a productive one. 

I started by working in the garden, where I harvested a ginormous bowl of tomatoes and three large zucchini to add to my indoor collection of three even bigger zucchini.  I decided it was time to do something with these squash monsters so I figured out how to attach my shredder to my KitchenAid (thanks, Mom) and I grated up four 2-cup bags of zucchini to freeze for later use in bread.  This got rid of...one zucchini.  I even had enough left over to try a new zucchini bread recipe (I've decided I like my Blue Ribbon Zucchini Bread recipe better).  I was pretty exhausted by then (the belly is making standing for very long kind of painful on my back) and since I'd already started my homemade country white bread in the breadmaker (one of the only fails I've had with this machine, I think I shouldn't have added flaxseed.  Next time I won't mess with the recipe and see what happens.) I laid down and looked up more things to do with zucchini.  I think tomorrow I will make up a batch of Corn, Zucchini and Tomato Chowder.  I'll freeze half of it so we've got a meal for later.  I'm also going to make up a batch of my zucchini bread to take around to neighbors who've had babies recently.


If you click on this picture it should make it big enough
to see the entire recipe.  I won a blue ribbon for this recipe
at the Utah County Fair a couple of years ago.  It's really yummy and
semi-healthy.
After lunch I decided to sew things up for the baby.  I was too tired of standing to work on the curtains so I made a quick little burp cloth using white terrycloth washcloths that Jeremiah doesn't like because they're too thick and some extra fabric I had lying around.  I used this tutorial.  It turned out fine but I really like this tutorial using flannel best.  I made three of these in one hour (a few months ago) using left over flannel pieces. I pieced a rectangle the way you do a rag quilt, then cut out the burp cloth with the pattern, zigzagged the edges and clipped all the seams to make it fray. They turned out really cute and were a great way to use up bits and pieces.

I went through my Pinterest board and found this tutorial for appliqued onesies.  I had everything I needed and in literally 30 minutes I had two super cute onesies finished.  I love my sewing machine, it has an applique stitch and will even sew the buttons on for you (I made sure they were on there really tight).  One thing about this tutorial though; the patterns are adorable but pretty big.  I sized the bird down to 80% (I used 3-6 month onesies) and it's still on the large size.  I eyeball trimmed the elephant and it's still a little large.  I would probably print them at 60-70% in the future.


Photobucket

Monday, July 30, 2012

Nursery Project #8

This was a really easy one, once I found what I was looking for.  I decided I wanted some cute bookends to go on the bookcase.  I went to Hobby Lobby looking for ceramic birds I could paint (Krylon makes a spray paint called Watermelon that perfectly matches the darker coral/pink in the fabrics).  I found nothing!  I was quite surprised.  I did find two wicker baskets for the bottom shelf that I've filled with toys and they are perfect but still, I would have thought for sure they'd have ceramics to paint.

I went to Michael's next and found these cute little birds on clearance for .99/each.  They're actually salt and pepper shakers.  I filled the holes with spackle, painted them and then filled them with, well, salt, to give them a little extra weight.  They are a little on the light side but I really like the pop of color they add to the bookcase.


I'm still figuring out the display items and which
books I want on there so this isn't anywhere near
finished but it's coming along...


Photobucket

Friday, July 27, 2012

Nursery Project #7

This may not technically be a project but I had a moment of inspiration and came up with an idea that I think has the possibility of being pretty cute.

We have a lot of "stuff" in our house that just kind of sits around taking up space and I'm trying to see how many things I can either repurpose or donate.  I am also trying to find ways to add a little more texture to the nursery.  I have this white pot from Ikea that's been "decorating" the powder room (unsuccessfully).  I thought I could use it on the dresser somehow to put her little headbands in but it wouldn't be super practical.  I then had a flash of brilliance, found a foam floral ball that I was using somewhere else and these short bamboo skewers that were just laying around in a drawer.  The idea is to create a "bouquet" using her clip-on flowers for her headbands (I've just added a few random ones I made a few years ago to get an idea of what it would look like-the only one I'd use with her is the pink one).  It seems to work pretty well, I just need to make more cute flower clips.  I'm going to hang her headbands on one of the hooks on the bird hanger that hopefully will be mounted this weekend.

Update:  Here's a picture with some of the flowers I've made for her.  I think it's quite cute. :)


Photobucket

Wednesday, July 25, 2012

Nursery Project #6 and a sneak peek

I'm really on a roll with this whole blogging thing. :)  I'm also getting a lot done with the nursery, which makes me happy.  I finished edging the quilt (which turned out acceptably but not perfect because my border fabric was apparently somewhat twisted but oh well) and I started the wall collage of fabric-covered embroidery hoops (that project is going to take a while to finish).  I also made a really quick, really cute pillow case for the pillow on my nursery chair by modifying a tutorial I found here.  I'm thinking about adding buttons on the pink strip, what do you think?


Photobucket

Tuesday, July 24, 2012

Nursery Project #5

I am very proud of myself for not procrastinating this project; I tend to start quilts and not finish them for (sometimes) years.  I'm not 100% done but I've gotten the majority of the work finished, I just have to spend another hour or so doing the quilting.

I agonized over the pattern for weeks, looking at patterns online and in several of the books I have.  I seesawed between a couple of different patterns and finally just began cutting out the blocks.  Saturday I decided to do the same pattern that my grandma did on my wedding quilt and I love it.  It was a lot easier than all the other patterns (which has helped with the time factor) and I really like the way the different fabrics show up throughout the quilt.

Decorative edge stitch

From the back of the quilt

Almost done!


If you're interested in how I did it, here's a brief overview:

Fabric:  1/8 yard of 8 different fabrics for top
             1/4 yard for border strips (not a fat quarter, you want it the width of the fabric)
             1 yard backing fabric
             1 yard flannel/old sheet for batting

I cut 8 different fabrics into 5" blocks--I cut 8 of each fabric but afterwards decided to only use 56 because I wanted a rectangle and because then I wouldn't have to piece the back.  It was 8 blocks long, 7 blocks wide and I used the leftover squares (plus 1 more that I cut) in the pillow from yesterday.

I laid out the first row with one block of each fabric, then started the next row with the last block used and repeated the pattern for the row.  The third row started with the last block used in the second row and so on.

I sewed each row together, then attached the rows to each other.  I'm normally not big on pinning and ironing but it really helped with lining up the blocks.  I made sure to iron the seams in opposite directions for each row.  For example, I ironed the first row to the left and the second to the right then pinned at the the intersection of the blocks.  It took more time but like I said, was really helpful.

For the border I used four strips 2" wide by the width of the fabric, which worked out perfectly.  I attached them to the long sides first, then the shorter ends.

For the batting I used an old jersey sheet cut to size and pinned it to the wrong side of the quilt top.  I didn't want a really heavy, puffy quilt because I don't feel comfortable using them with babies.  The sheet gives it just enough weight for warmth but without being overwhelming.

I cut an old jersey sheet to size for the batting and pinned it to the right side of the quilt top.  Then I sewed around the edges, leaving a hole for turning the whole thing inside out.  I hand stitched that close and now I'm in the process of quilting around the edges.

Finished size is 38.5" x 42"


Photobucket

Monday, July 23, 2012

Nursery Project #4

I have spent all day working on the crib quilt; it isn't quite done yet since I am still waiting for the border fabric to finish drying so I can cut and piece it.  However, while I've been waiting I decided to take some of the leftover squares and put together a pillow cover.  It was a little trickier than I expected to make an envelope cover but that's just because I'm kind of slow at figuring things out without directions.  After several false starts and about 2 hours of working on it, I finally finished and here it is!

The partially completed afghan will go over
the back of the chair to give it a little more
oomph and perfectly matches the coral color
 in the fabrics.

Photobucket

Friday, July 20, 2012

Nursery Project #3

I am on a roll today, three projects and four posts in one day!  I saw this on Pinterest a couple weeks ago and thought it would be cool.  It was super easy and I love the way it turned out.  Now I'm working on cutting out squares for the quilt--we'll see how long that takes me to finish. :)


Photobucket

Nursery Project #2

I'm not sure how much this one counts as a "project" since all I did was spray paint it white but I love it and wanted to share it anyway.  We found this adorable branch/bird hook at Hobby Lobby in Las Vegas last week.  It works perfectly in the nursery, which is inadvertently acquiring a bit of a bird theme.  Now I just need to get Jeremiah to mount it for me...


Not sure why it's coming in upside down and no idea how
to turn it right side up.  Use your imagination.
Photobucket

Nursery Projects

I began planning the nursery on June 22, when we found out we were having a girl.  My parents came to work visit the next week and we got the room painted (Balmy Seas by Behr-I love it) and purchased and assembled the furniture (dresser and bookcase from the Hemnes line at Ikea and Sedona crib from Babies R Us).  Now I am working on all of the fabric and other projects to pull this room together.  My goal is to have it mostly done by the end of the summer, when I will be entering the third trimester, so I don't have much to worry about other than reading up on babies and taking child birth classes.

                                          The nursery so far.

Mom and I found some gorgeous fabric at the Corn Wagon Quilt Company here in Springville.  It is from the Vintage Modern line by Moda and I love it.  I have big plans and hope to document some of my projects here for anyone who is interested.

I finished Project 1 this afternoon--a diaper caddy for using on the dresser/changing station.  It didn't turn out perfectly but for a completely self-taught seamstress, I'm pretty happy with it.  I found the tutorial here.


Photobucket